AEM Product Picker for the Universal Editor
This extension for the Universal Editor integrates Adobe Commerce data into your project, allowing users to select or remove product data directly within the editor.
Functionality Overview:
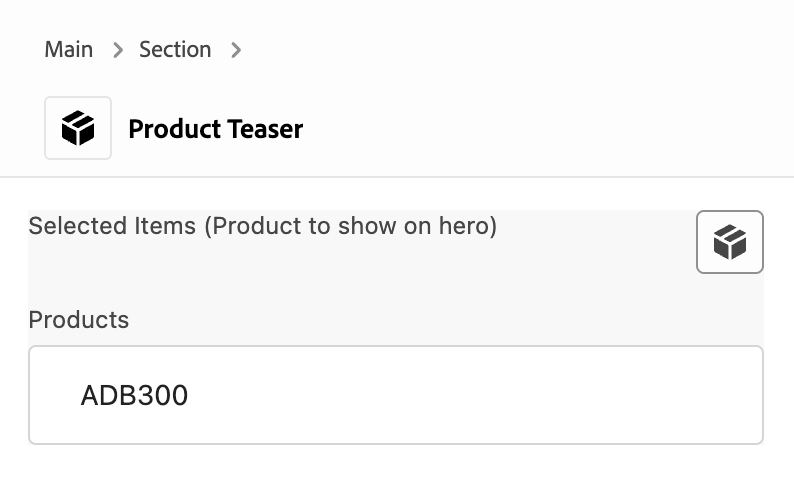
- The extension replaces the standard UI for any product field type component in the properties rail with a new component UI.
- The product picker extension adds a button to the properties panel of the Universal Editor to open the catalog for adding new products or changing selected items.
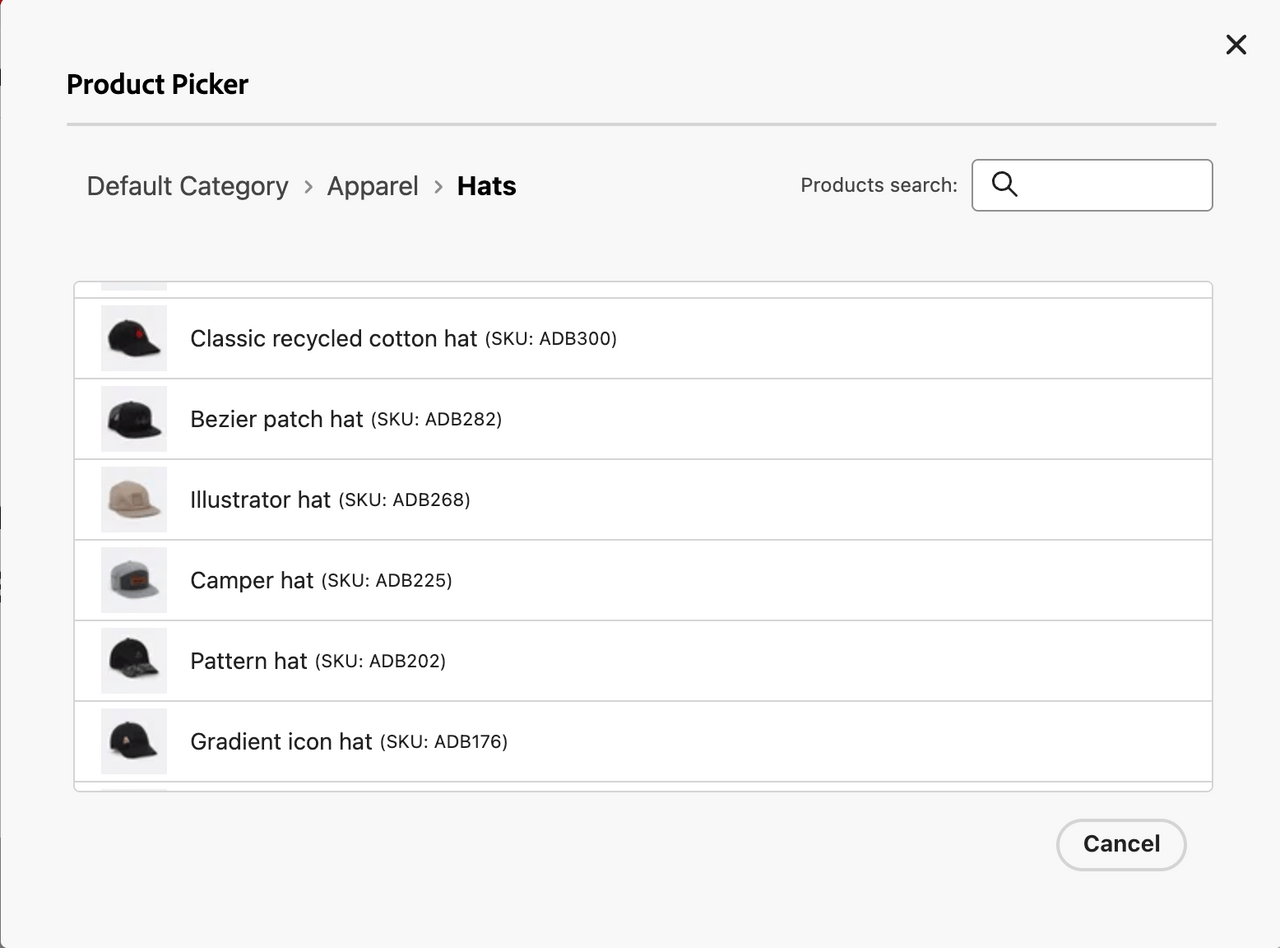
- Clicking the button lets users navigate through categories, select products from any category, or use search functionality to find specific products.
- Utilizes components from Adobe React Spectrum.


Installing the Product Picker
The extension needs to be installed using the Extension Manager. This document assumes familiarity with the Extension Manager. For details on how to access Extension Manager and understand the basic principles of working with extensions, please refer to the document Extension Manager in AEM Sites.
Once you install the extension, you can configure it.
Configuring the Product Picker
- In the Extension Manager, in the left column under Services select Universal Editor.
- In the right column, scroll to the bottom of the list and you can see your newly-installed extension.
- Click on Configure the extension on the right side of the row (the gear icon).
- In the Extension configuration dialog, click the Add variable button.
- Enter the following values in the fields that appear.
- Key:
config-base-url - Value: Set to your project URL such as
https://main--aem-boilerplate-commerce--hlxsites.aem.live
- Key:
- Click the Add variable button again.
- Enter the following values in the fields that appear.
- Key:
config-path - Value: Set this to your project configuration file such as
/config.json, following the structure of https://github.com/hlxsites/aem-boilerplate-commerce/blob/main/demo-config.json.
- Key:
The extension is installed and configured to know where your project is and where to find its configuration. Now you need to define what categories the picker should browse.
Configure Picker Categories
In your project, edit the
config.jsonfile you specified when configuring the extension in the previous step.Add the following configuration in the
config.jsonfile, following the example at https://github.com/hlxsites/aem-boilerplate-commerce/blob/main/demo-config.json#L30C7-L34C8, replacing the root category with the value you require.Copied to your clipboard"plugins": {"picker": {"rootCategory": “2”}}
With the extension configured, you will finally need to configure your blocks to use the extension in the component models file.
Configuring Blocks to Use the Extension
In your project, edit the
component-models.jsonfile.Find a block (component) that contains a field that should show the picker.
To the
fieldsarray of the selected block, add a new object with the following configuration:Copied to your clipboard"fields": [{"component": "commerce-picker:picker","name": "hero-sku","label": "Product to show on hero","valueType": "string","commerce-picker": {"selection-mode": "single","selection-type": "item"}}]Set the following values:
component: This must be set to exactlycommerce-picker:picker.valueType: This must be set tostring.nameandlabel: These can be any descriptive value.commerce-pickerobject:selection-mode: This can besingleormultipleto determine the number of items that can be selected in the picker.selection-type: This can beitemto allow selecting only products,folderto allow selecting only categories, oranyto allow selecting both.
Repeat this configuration for all fields of all blocks that require the picker to be enabled.


